Short answer:
Yes. You can order a replacement car key online in the UK and have it delivered in 3–4 days. Choose the right key type, provide a photo or key code for cutting, and have a local locksmith program it when it arrives.
Why trust this guide:
With over 25 years in the locksmith trade and more than 650,000 satisfied customers, Mr-Key explains exactly how online key replacement works — clearly, securely, and step by step.
When online replacement works (and when it doesn’t)
Ordering online is ideal if you need a spare, a like-for-like remote, or a replacement for a lost or damaged key. It’s the fastest and most convenient way to get OEM-grade parts delivered to your door.
You simply order the correct key, have it cut from a photo or key code, then let a local locksmith program it to your vehicle.
Online ordering doesn’t replace immobiliser pairing. Modern vehicles still require professional programming once the key arrives.
Key types explained
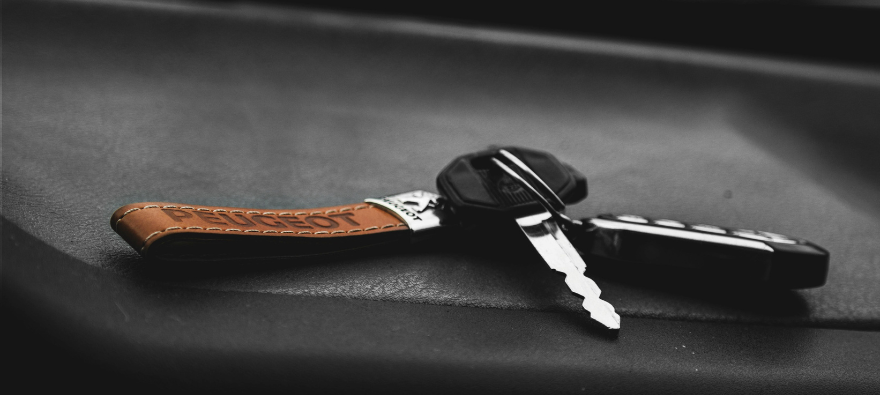
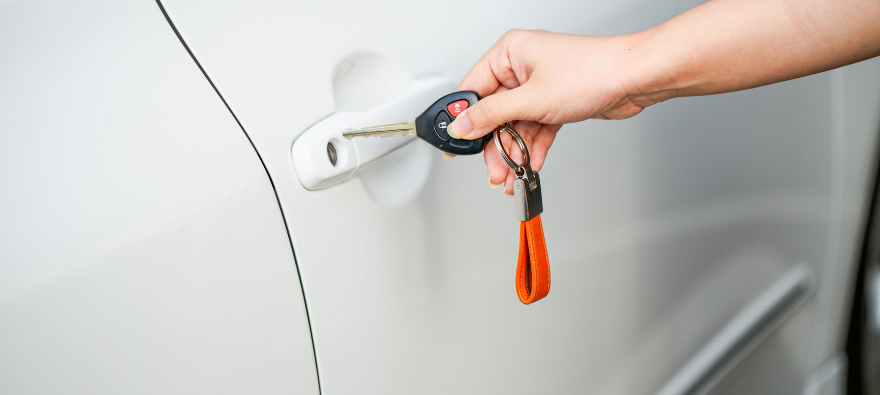
Transponder keys
These have a mechanical blade and an electronic chip that communicates with your car’s immobiliser.
Remote fobs
Include lock/unlock buttons plus a built-in transponder. We supply the pre-cut blade (if requested) and tested electronics.
Proximity or smart keys
Keyless entry and push-start units. Delivered ready for your locksmith to pair with the car.
Key shells & batteries
Replace worn housings or dead batteries without any programming.
Also available: caravan keys, ATV keys, roof-rack keys, mailbox keys, towbar keys, and more.
Browse our full range at mr-key.com.
How online ordering works
1. Identify your key
Use your vehicle make, model, and year. Match your key shape, button layout, and frequency markings.
2. Choose how to cut it
By photo: send a clear image of your existing key.
By key code: provide the manufacturer’s key code for factory-accurate cutting.
3. We cut and test
Keys are machine-cut and tested for precision. Electronics are checked before dispatch.
4. Delivery in 3–4 days
Typical UK delivery with tracking and updates.
5. Local programming
Arrange a nearby automotive locksmith to pair the key. Most jobs take 15–30 minutes.
What affects cost
Key type — proximity and smart keys cost more than basic transponders.
Electronics and frequency — differ by brand and year.
Cutting method — photo or code; standard or laser blade.
Programming complexity — varies by model.
Extras — spare shells, emergency blades, or upgraded housings.
Pro tip: Order two keys now — you’ll save money on future locksmith visits and prevent lockouts.
Programming: DIY vs local locksmith
Modern immobilisers are secure by design. Mr-Key does not supply pairing or programming kits.
A professional locksmith uses diagnostic tools to safely program your new key and verify vehicle ownership. It’s faster, safer, and ensures full functionality.
Shipping, warranty & returns
Delivery: 3–4 days across the UK.
Warranty: 12-month full coverage on keys and electronics.
Returns: Contact support before programming — unused items are easier to exchange.
Dealer vs local locksmith vs online
| Option | Speed | Convenience | Programming | Best for |
|---|---|---|---|---|
| Main dealer | Medium–slow | Appointment required | Dealer tools | Brand-new cars, under warranty |
| Local locksmith | Fast | Mobile visit | Done on site | Emergencies, quick help |
| Online (Mr-Key) | 3–4 days | Order from home | Done by locksmith | Planned replacements, spares |
Most UK drivers choose online ordering + local locksmith pairing — the fastest, most cost-efficient combination.
Troubleshooting after delivery
Key turns but car won’t start
Blade fits, but immobiliser isn’t paired yet. Book a locksmith.
Remote buttons not working
Replace the battery and re-pair during programming.
Proximity key not detected
Use the emergency start position (usually near the steering column) and ask your locksmith to register it.
Blade feels rough
Use light graphite lubricant or send a photo for recheck.
How to avoid another lockout
Order a second key and keep it at home.
Replace weak remote batteries yearly.
Label your spare with the vehicle reg.
For keyless cars, store keys away from doors and use a signal-blocking pouch.
FAQ
Can I order a replacement car key online and get it delivered?
Yes. Send your key photo or code, receive delivery in 3–4 days, and have it programmed locally.
Do I need proof of ownership?
Your locksmith may ask for it. For UK vehicle documentation, see GOV.UK – V5C log book.
What’s the difference between key types?
Transponder keys start the car; remote fobs add buttons; proximity keys enable keyless entry/start.
Can you cut my key from a photo?
Yes. Clear, well-lit images allow accurate decoding and cutting.
Can I program the key myself?
No. Only an automotive locksmith can safely pair it.
How long does delivery take?
Usually 3–4 days within the UK.
Do you cover my vehicle?
Almost all brands plus caravans, ATVs, lockers, and more.
What warranty do I get?
12-month full warranty on all keys and electronics.
What if the battery is dead?
Replace it with the correct cell. If issues continue, have the locksmith check frequency and pairing.
What if I’ve lost all keys?
Order online and arrange programming. Mobile locksmiths can often attend on site.
Can I order two keys?
Yes — it’s the smartest option to prevent future emergencies.
Shop now: https://mr-key.com